Introduction
This page is about how to lace a bicycle wheel using rims that don't have holes in the floor through which you'd insert nipples. The advantage of such a rim is that you don't need rim tape. Ever. The disadvantage is that it takes slightly longer to build the wheel. I set out to determine exactly how much longer, and this page documents that effort -- while showing how it's done.
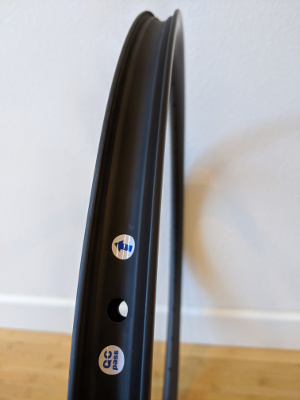
The rim has only one hole (for the valve stem) through which all the nipples have to be inserted. The easiest way to get them into place is with a magnet, but since neither brass nor aluminum nipples are magnetic you need to get steel bolts with the same thread and screw them into the nipples. Then you drop them into the hole, turn the rim to let gravity pull them close to a nipple hole, and use the magnet to pull them through. To keep them in place until you're ready to insert a spoke you can use a bolt with a larger head or a tight-fitting O-ring. I've tried both, and prefer the latter.
Spoiler: it took exactly 19 minutes and 25 seconds to prepare the rim for lacing. Once that's done building the wheel is basically the same as if you had holes (so it's not covered here.)
What follows are some photos and a video showing the process.
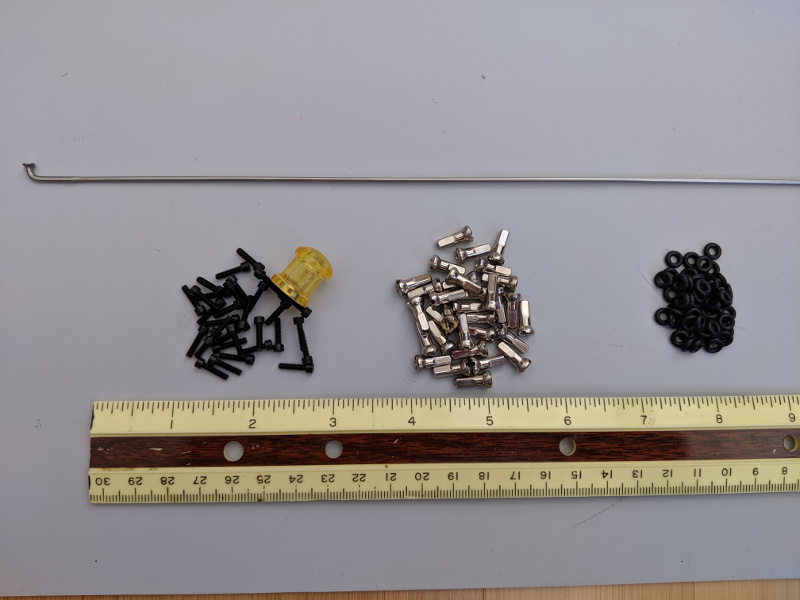
Parts gathered (Elapsed time: 0:00)
Raw materials are 32 nipples, 32 bolts with the same thread ("2-56") as the nipples, and 32 O-rings exactly the right size to fit snugly on the nipples. I got them from McMaster/Carr. Links are in the notes below.
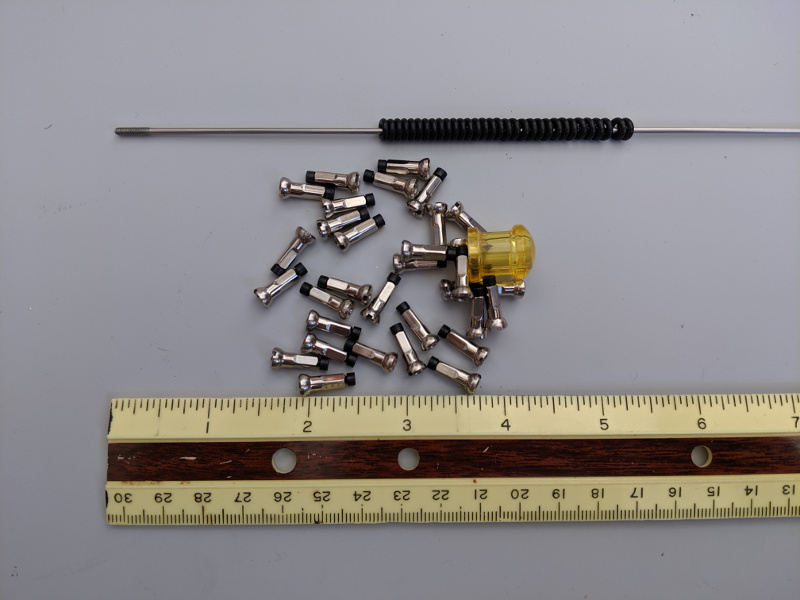
Parts assembled (Elapsed time: 4:22)
Now the magnetic bolts are screwed into the nipples and the O-rings are all on a spoke. The spoke is to make it easy to slide the O-rings onto the nipples. As you'll see below, when I remove the bolt from the nipple after the magnet pulls it into place I screw in the spoke and slide an O-ring onto the nipple.
Inserting the nipples (Elapsed time: 19:25)
This video shows the process of dropping nipples into a rim and pulling them into place using a magnet, then holding them there with an O-ring. It's simple enough to describe, but useful to see just how easy and fast the process is.
Conclusion
Under 20 minutes to have a wheel that for life requires no rim strip. And no trying to figure out whether those mystery leaks are due to a problem with the rim strip. For me it's an easy decision (though finding rims that offer the no-holes option is harder. Mine came from Light Bicycle, and are carbon. I hope to find something in aluminum soon for my next rim-brake wheel.)
Notes
- Here are the bolts I used to make the nipples magnetic.
- Here are the O-rings I used.
- My email is fixin@eehouse.org in case you have comments or suggestions for improving this.